I wasn't planning on a card for this challenge but when I found a set of watercolour paints and paper in the craft section of the newly opened Target store, I decided to give it a try!! There's so many watercolour inspiration for card making, so I knew I would use it more than once!! Here's my first attempt at this watercolour technique using Spiral Bouquet.
* I used Erin's method to colour the flower heads and then stamped over
them with Berry Sorbet, Harvest Gold and Twilight (Colorbox). Each flower
was accented with a mini pearl.

* The stems were added and accented with Limeade Ice.
They came out a bit messy, so I decided to stamp the sentiment
(Embriodered Blooms with Royal Velvet ink) over them. Now I'm not
sure if it draws attention to the stems or camouflages them!!

* Green grosgrain ribbon was also layered under the focal panel before attaching it to the card front.

* The final detail was a butterfly (SU: Beautiful Wings). Using several layers of papers (Harvest Gold, Limeade Ice and a pink patterned paper from my stash) I sewed the layers together on my sewing machine and left the threads hanging to resemble the butterfly's antennae.
 |
| Inside of card front |
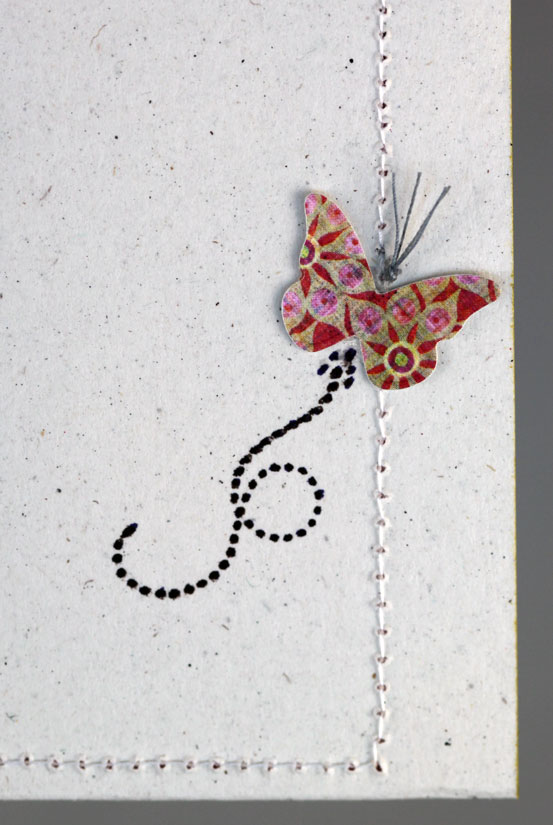
An Unexpected Detail:
When I machine stitch a front panel, I usually do it before I mount it onto the card base. But this time I had attached the Berry Sorbet card stock and then decided to add the machine stitching. That meant that the stitching was visible on the inside.
My solution? I pulled all of the thread ends through to the back (inside card) added a butterfly, and used the thread ends as the antennae again. The thread ends were coloured with a grey copic marker.
Card Details (PTI, unless noted)
Stamps - Spiral Bouquet; Embroidered Blooms; Waltzingmouse Stamps: Off Beat Backgrounds
Inks - Berry Sorbet, Harvest Gold, Limeade Ice, royal Velvet; Colorbox: Twilight
Papers - Rustic White, Berry Sorbet, Harvest Gold, Limeade Ice; Watercolour paper;
Dies - Spellbinders Classic Ovals
Other Supplies - Cane Print Impression Plate; Watercolour Paints; mini pearl adhesives;
Offray: Lemongrass Grosgrain ribbon; SU: Sizzix Beautiful Wings Embosslits; sewing machine
Thanks for visiting today.
Karen C.
4 comments:
Lovely, bright colours! Lots of gorgeous details--even on the inside! Awesome!
Oh this is lovely! I must give it a try sometime. Gorgeous. - Irma
Love your card! How clever to use your thread ends for your butterfly antennae.I love that unexpected detail inside your card!
Oh, this is gorgeous, Karen! Fabulous job with the MIM technique!
Post a Comment